
Setting Up Flask, SQLAlchemy, and Postgres
This tutorial explains how to configure Flask and Postgres to work together. We will learn by walking through a simple Pastebin clone in Python and Flask, connecting it to a Database Labs Postgres database using SQLAlchemy.
Database Labs reduces the formerly difficult task of setting up a continuously backed-up database in the cloud to one command, greatly reducing the development time.
Prerequisites
You should have a basic knowledge of general Python programming and source code editing, and be comfortable running commands at the command line. Make sure you have a recent version of Python and its package tool, pip, installed on your system. Consult the Hitchhiker's Guide to Python if you need general help with Python.
We'll use the psql Postgres client to interact with
the Database Labs database. On Debian and Ubuntu Linux systems,
this is in a package called postgresql-client. You
can also use pgAdmin as your Postgres client.
If you don't have it installed already, please install HTTPie, a command-line HTTP client similar to curl. We'll use it to make the API request to Database Labs.
Step 1: Get a Database Labs API Key
After logging in and setting up payment details, click on the API Keys tab, then click the Create API Key button. Copy down your API key details somewhere safe.
To make things easier, we'll save the API key and the API secret into the following environment variables:
export DBLABS_API_KEY=<API key goes here>
export DBLABS_API_SECRET=<API secret goes here>
export DBLABS_API_LOGIN=$DBLABS_API_KEY:$DBLABS_API_SECRET
Step 2: Provision a Database
Creating a new database with the API is easy:
$ http -a $DBLABS_API_LOGIN POST https://www.databaselabs.io/api/databases size=512mbYou should receive a reply like the following (with a different hostname and password, of course):
HTTP/1.1 202 Accepted
Connection: keep-alive
Content-Length: 145
Content-Type: application/json
Date: Sat, 15 Nov 2014 01:24:24 GMT
Server: nginx/1.6.2

{
    "hostname": "deep-base-73.db.databaselabs.io",
    "id": "40693e7e-8126-46bb-a10e-8c309776e5d8",
    "password": "fMdGn7beP98S2wKYFg",
    "status": "building"
}
It will take about 5 minutes for the database to build. You can
check whether it's ready yet with the GET
call. Substitute your database hostname into the following command:
$ http -a $DBLABS_API_LOGIN GET https://www.databaselabs.io/api/databases/deep-base-73.db.databaselabs.io

HTTP/1.1 200 OK
Connection: keep-alive
Content-Length: 229
Content-Type: application/json;charset=UTF-8
Date: Sat, 15 Nov 2014 01:30:07 GMT
Server: nginx/1.6.2
Strict-Transport-Security: max-age=31536000; includeSubDomains
Vary: Accept

{
    "hostname": "deep-base-73.db.databaselabs.io",
    "hostsize": "512mb",
    "id": "40693e7e-8126-46bb-a10e-8c309776e5d8",
    "region": "nyc3",
    "sla": "development",
    "status": "ready",
    "updated-at": "2014-11-15T01:29:59.041Z",
    "cloud": "digitalocean"
}
Great! The "status: ready" tells us that our database is good to go. Let's start with the Python setup.
Step 3: Install Python packages
Our project is going to be based in
a Python virtual environment called
venv. A virtual environment is just a way to group
together all the various packages used by our project. We are going to
need the Flask, psycopg2
and Flask-SQLAlchemy packages.
We set up our virtual environment with:
$ virtualenv venv
New python executable in venv/bin/python
Installing setuptools, pip...done.
$ source venv/bin/activate
(venv)$ pip install Flask Flask-SQLAlchemy psycopg2
...
(venv)$
Step 4: Set up the database model
Open main.py in your favorite editor and add the following:
# main.py

from flask import *
from flask.ext.sqlalchemy import SQLAlchemy

import os, sys

app = Flask(__name__)
app.config.from_object(__name__)

app.config['SQLALCHEMY_DATABASE_URI'] = os.getenv("DATABASE_URL")
if app.config['SQLALCHEMY_DATABASE_URI'] == None:
    print "Need database config"
    sys.exit(1)

db = SQLAlchemy(app)

import models

if __name__ == "__main__":
    app.run(host='0.0.0.0')
A database model is the class representing a row in the database. Ours is going to be very simple:
# models.py

from main import app, db
import uuid

class Paste(db.Model):
    id = db.Column(db.String(36), unique=True, primary_key=True)
    poster = db.Column(db.String(51))
    paste = db.Column(db.Text())

    def __init__(self, text, poster="Anonymous"):
        self.paste = text
        self.id = str(uuid.uuid4())
Step 5: Set up the HTML views
Our 3 HTML templates are going to also be very simple:
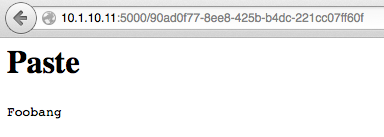
<!-- templates/paste.html -->
<h1>Paste</h1>

<code>
{{ paste }}
</code>
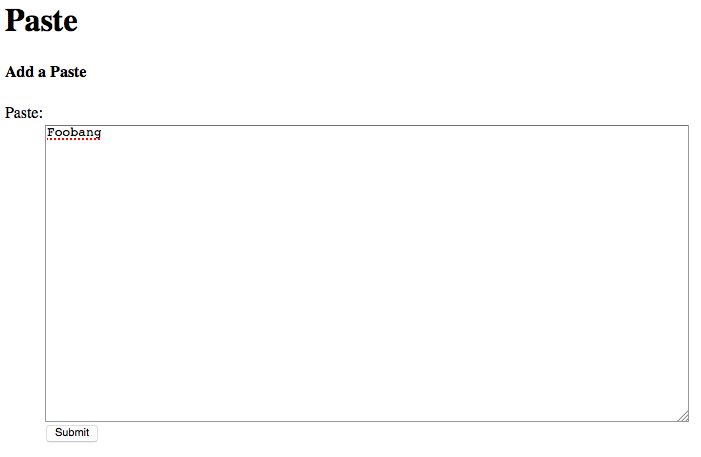
<!-- templates/submit.html -->
<h1>Paste</h1>
<h4>Add a Paste</h4>
<form action="/submit" method=post>
	<dl>
		<dt>Paste:
		<dd><textarea type=text name=paste rows="20" cols="80"></textarea>
		<br />
		<input type=submit value=Submit>
	</dl>
</form>
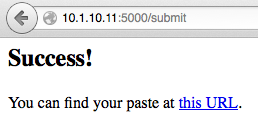
<!-- templates/success.html -->
<h2>Success!</h2>

<p>You can find your paste at <a href="/{{id}}">this URL</a>.
Step 6: Set up form processing
For simplicity, / is going to be the submit page.
# main.py

@app.route("/")
def show_submit_page():
    return render_template("submit.html")

@app.route("/submit", methods=["POST"])
def submit():
    text = request.form["paste"]
    text = text.encode("ascii", errors="ignore")

    paste = Paste(text, "Anonymous")

    db.session.add(paste)
    db.session.commit()

    print "added paste by %s with id %s" % (poster, paste.id)
    return render_template("success.html", id=paste.id)

@app.route("/")
def show(id):
    pastes = models.Paste.query.filter_by(id=id)
    paste = pastes.first()

    if paste == None:
        raise Exception("No such paste by id %s" % id)

    return render_template("paste.html", paste=paste)
Step 7: Set the database up
Now that all the code is written, let's set up the database. Substitute your hostname and password in the following command:
$ PGPASSWORD=fMdGn7beP98S2wKYFg psql -h deep-base-73.db.databaselabs.io -U postgres
postgres=# CREATE DATABASE pastes;
CREATE DATABASE
postgres=# CREATE USER flaskapp WITH PASSWORD 's3kr1+';
CREATE ROLE
postgres=# GRANT ALL PRIVILEGES ON DATABASE pastes TO flaskapp;
GRANT
postgres=# \q
initdb.py will create the actual database table from our model:
# initdb.py

from main import db
db.create_all()
Step 8: Run the app
Finally, we can run our app:
$ export DATABASE_URL=postgresql://flaskapp:s3kr1+@deep-base-73.db.databaselabs.io/pastes
$ python initdb.py
$ python main.py
 * Running on http://0.0.0.0:5000/
Here are some screenshots of the app in action:
That's how easily you can get started with Python on Database Labs!